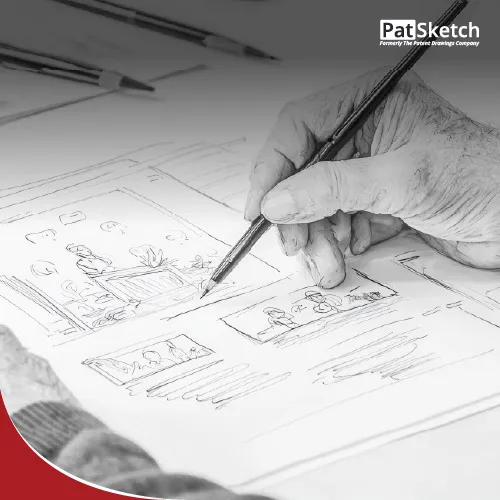
Concept sketches serve as the initial visual representation of an invention, offering a basic outline of how the invention functions or appears. Patent drawings, on the other hand, are formal, detailed illustrations required as part of a patent application.
The transition from a concept sketch to a patent drawing involves refining the original sketch with technical precision, incorporating all required views, applying consistent scaling, and ensuring compliance with official patent drawing guidelines. This guide outlines the essential steps and tools needed in 2025 to convert your idea into a USPTO-compliant patent drawing successfully.
Also Read: Why Should You Hire a Good Patent Illustrator?
Why Patent Drawings Matter
Patent drawings help communicate the structure, function, and features of your invention. The USPTO and other global patent offices often require drawings that meet strict technical standards. Well-crafted drawings reduce ambiguity, increase approval speed, and strengthen the enforceability of your patent.
Related Article: Preparing Patent Drawings: Key Points to Remember
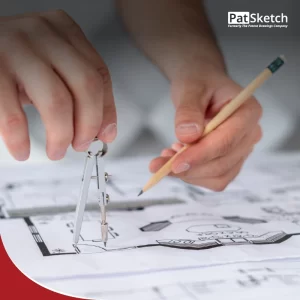
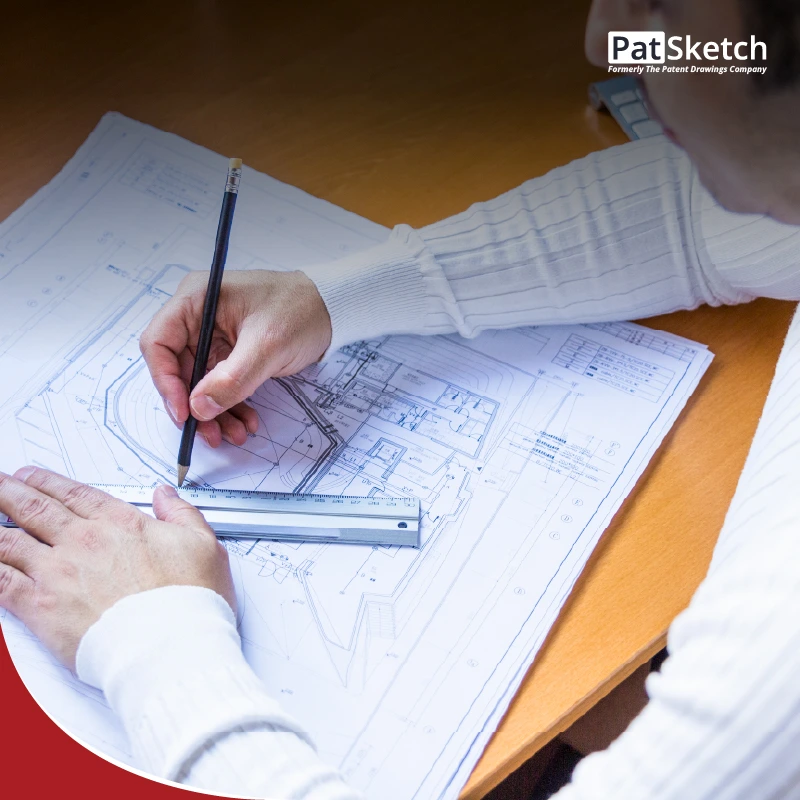
Step 1: Start with a Rough Sketch or CAD Model
Begin your process with either:
- A freehand sketch of your idea using tools like Sketchbook, SketchUp, Artweaver, or Fresh Paint.
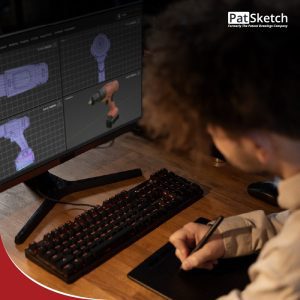
- A 3D CAD model created in software such as Fusion 360, SolidWorks, or AutoCAD.
Tips for Better Concept Sketches:
- Use a 45-degree pencil angle for smooth line control.
- Apply light shading to build depth without cluttering the drawing.
- Sketch from multiple views: top, side, front.
- Focus on structure and proportion, not artistic detail.
CAD software offers a professional edge by producing orthographic (non-perspective) views, ideal for patent submissions.
Step 2: Refine the Design for Patent Clarity
Once your initial sketch or model is ready, refine the details for accuracy and compliance. Be sure to:
- Include all required views: isometric, front, rear, left, right, top, and bottom.
- Avoid unnecessary text or design elements.
- Make each part visually distinct and easy to interpret.
The goal is clarity, ensure your drawing communicates without confusion.
Step 3: Follow USPTO Formatting Guidelines (2025)
According to USPTO rules (37 CFR 1.84 and MPEP §608.02), patent drawings must follow specific formatting. Key requirements include:
- Black ink on a white background only.
- Line weights: 1 pt for main outlines, 0.5 pt for internal lines, 0.25 pt for shading.
- No color or grayscale (unless explicitly allowed).
- Proper margins: 1 inch (top and left), 3/8 inch (bottom), and 5/8 inch (right).
- All drawings must be clearly labeled and numbered sequentially.
Using templates with built-in margin guides can help you stay within acceptable limits.
Step 4: Use the Right Software Tools
To convert your rough sketch into a polished, scalable illustration, use professional software such as:
- Adobe Illustrator
- AutoCAD
- CorelDRAW
- Microsoft Visio
These tools ensure clean lines, consistent labeling, and scalability for both print and digital submissions.
Step 5: Consider Hiring a Patent Drafting Expert
While do-it-yourself (DIY) drawings may work for basic inventions, hiring a professional patent illustrator is highly recommended for:
- Complex mechanical or design patents
- Inventions requiring multiple views or exploded diagrams
- Minimizing the risk of office actions or rejections
A professional understands USPTO and WIPO standards and can deliver compliant drawings faster and more accurately.
Step 6: Final Quality Check Before Submission
Before submitting your patent application, ensure:
- All drawings are sequentially numbered (FIG.1, FIG.2, etc.)
- Views are consistent and properly labeled
- No perspective views, shadows, or 3D effects are used
- All required views are included
- No smudges, distortions, or formatting errors are present
Performing a thorough final check helps avoid costly delays or rejections.
Also Read: How Much Does a Utility Patent Cost You?
Common Mistakes to Avoid
- Using perspective drawings instead of orthographic views
- Adding grayscale, color, or artistic effects
- Inconsistent or missing figure labels
- Incorrect line weights or margins
- Submitting raster images (JPEG, PNG) instead of vector formats
Free vs. Professional Tools: Which Should You Use?

Conclusion
In 2025, turning a concept sketch into a USPTO-compliant patent drawing is easier than ever, thanks to modern tools and expert support. By following this structured process, using the right software, and staying compliant with formatting standards, you can reduce errors and speed up the patent process.
Need Help With Patent Drawings?
Our experienced team at The Patent Drawings Company is ready to assist. Whether you’re starting from a napkin sketch or a full CAD model, we deliver high-quality, USPTO-compliant drawings tailored to your invention. Contact us today to get started.